5 minute read
Ever looked at your tangled mess of wires and thought, “How hard could it be to fix this myself?” Trust me, you’re not alone.
With DIY projects taking over TikTok and YouTube, many of us are itching to channel our inner electrician. But here’s the spark of truth – not understanding the basics of electrical setups can lead to more sparks (and not the good kind).
This guide will take you through the essential steps to confidently plan and execute your DIY home electrical setup while keeping safety at the forefront. By the end, you’ll not only have an organized system but also the know-how to tackle minor electrical tweaks like a pro.
Why DIY Home Electrical Setup Matters
We’ve all Googled “Why is my circuit breaker tripping?” at some point. Hiring a professional every single time isn’t always practical, especially for simple fixes.
Learning these skills can save you money, time, and a heap of frustration. Plus, there’s a unique satisfaction in knowing you’ve rewired something yourself (even if you only tell your friends after double-checking everything worked).
Of course, there’s a fine line between what you should DIY and when to bring in the pros. Simple setups like replacing switches or installing new outlets? Doable.
Wiring an entire panel? Maybe leave that one for a licensed electrician or consider formal training. Speaking of training, courses like the Unitech Electrical Program offer hands-on education that equips you to tackle more complicated tasks (or even make a career out of it). From mastering blueprints to performing industrial wiring, this program covers it all.
With that in mind, here’s your step-by-step DIY roadmap.
Step 1 – Gauge Your Skill Levels and Tools
Before you start fidgeting with that screwdriver, ask yourself this: Do I have a basic understanding of electrical systems? If the answer is yes, you’re already ahead of the game.
For beginners, watch a few tutorials on foundational concepts like wiring, amperage, and circuit breakers. Better yet, grab a hands-on instruction book – I recommend ones with diagrams because words without pictures can sometimes feel like hieroglyphics.
Must-Have Tools for DIY Electrical Work
- Insulated screwdrivers
- Voltage tester (this one’s non-negotiable)
- Wire strippers
- Electrical tape
- Needle-nose pliers
- Circuit tester
- A trusty pair of rubber gloves (safety before aesthetics)
Pro Tip: Skip the “borrowed tools” approach. Old, worn-out equipment increases your risk of accidents.
Step 2 – Plan Before You Plug
Much like baking a soufflé, electrical work requires prep. The first step? Map out what you want to accomplish. Are you rewiring an outlet or adding a new light fixture? This clarity helps you assemble the right materials.
Things to Check:
- Is there a guide or manual for the project? Manufacturers typically provide instructions for newer fixtures or installations.
- Is this task covered under basic household safety? For example, handling an exposed live wire isn’t!
- Do you need to turn off the main breaker? (You probably do!)
Visualize your steps before lifting a tool. Forgetting to plan is how “quick projects” turn into three-day marathons.
Step 3 – Safety Isn’t Optional
Here’s the thing about electricity – it’s unforgiving. If you’ve ignored every other part of this article, don’t skip this section.
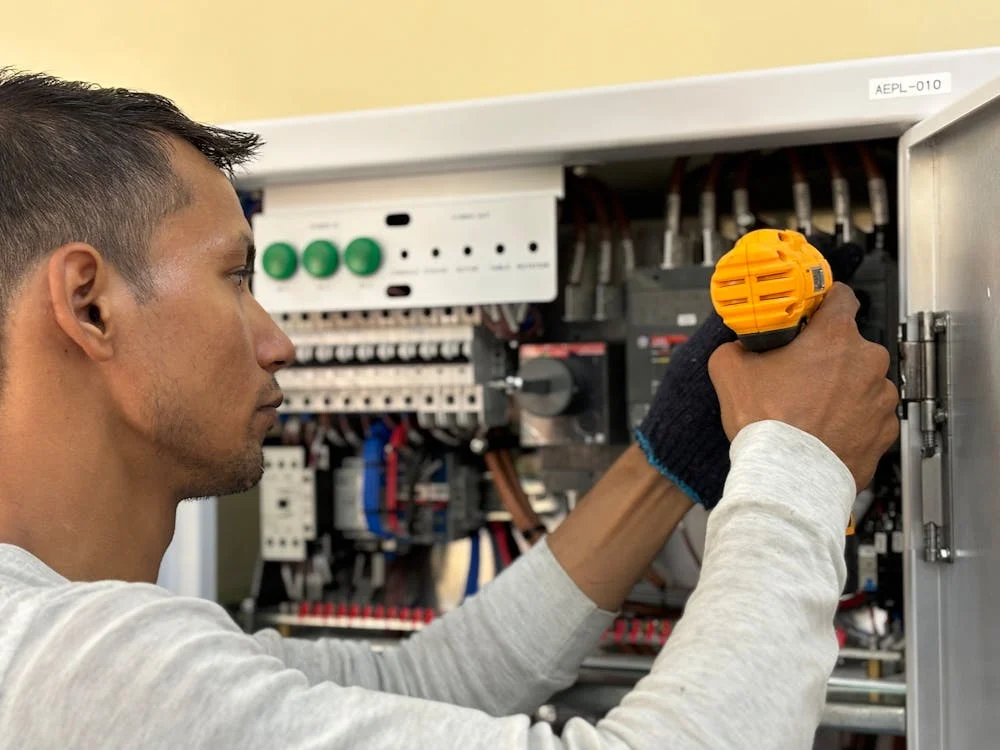
First rule: Shut off the power at your breaker box. Use a voltage tester to double-check for any current; better safe than sorry. Have rubber gloves? Wear them. Working near water? Don’t. DIY electrical is the ultimate game of “better safe than sorry.”
Step 4 – Learn the Basics of Circuitry
The heart of any DIY project is understanding what you’re working with. Circuits essentially act as electrical highways, delivering current to power your devices.
Knowing the difference between a series circuit (single path) and a parallel circuit (multiple paths) can mean everything to how your setup operates.
If this step feels overwhelming, consider advanced learning resources or an educational program where you’ll learn circuitry basics.
Step 5 – Test Everything Slowly
Electrical installation isn’t a “one-and-done” kind of process. Once your wiring is in place, test everything in controlled increments:
- Plug in one device or appliance at a time to avoid overloading circuits.
- Test switched outlets with your circuit tester.
- Pay close attention to any flickering lights or buzzing sounds, as these could indicate improper connections.
And remember to take notes. If something doesn’t work as planned, notes can help retrace your steps without confusion.
Step 6 – Maintain and Tidy Your Setup
Step back and appreciate your handiwork – but keep an eye on maintenance. Neat setups prevent future issues. Cord covers are a lifesaver for wire management, and labeled outlets and circuit breakers can make future troubleshooting a breeze.
You’ll thank yourself the next time you’re knee-deep in another project. Oh, and one last thing? Invest in surge protectors. You’ll never regret that extra layer of insurance.
Wrapping Things Up
A DIY home electrical setup is one of the most rewarding projects you can take on – but it’s also one of the most technical. With the right tools, preparation, and a mindset geared toward safety, you’ll not only accomplish your current project but also arm yourself with skills for future ones.
Love what you’ve read? Stay tuned for more tips or explore formal training to add even more voltage to your expertise.


