6 minute read
Are you interested in recording vocals at home? It’s easier than you think—all you need is the right equipment and a bit of practice. Recording vocals at home can be an incredibly rewarding experience, whether you’re recording your own songs or providing vocals for another artist. It can be intimidating, but with the right tools and a few tips, you can become a great home vocalist. Here are a few tips and tricks to help you get started.
Understand Your Needs
Before you start recording vocals at home, think about what you need from the equipment you buy. Do you want high-fidelity recordings with studio-level sound quality? If so, you’ll want to invest in a professional-grade microphone and audio interface. On the other hand, if budget is an issue and your main focus is on performance rather than pristine sound quality, you can get away with a simpler setup like a
USB microphone.
Therefore, ensure to research and understand your needs before investing in a recording setup. Knowing your needs will enable you to come up with the right equipment, software, and accessories for your particular recording situation.
Prepare Your Space
A vocal recording will require a quiet, treated space to ensure accurate audio quality. You’ll want to ensure the room you are using is free of any external noise—the hum of an air conditioning unit, traffic outside, and other distractions like pets or children should be minimized as much as possible. If you can’t completely eliminate these noises, consider a soundproofing panel to reduce their effect.
Your space should also be protected from external vibrations since even small movements can be picked up by the microphone. Consider investing in a shock mount or isolation device to ensure that your recordings remain unaffected by any movement within the space.
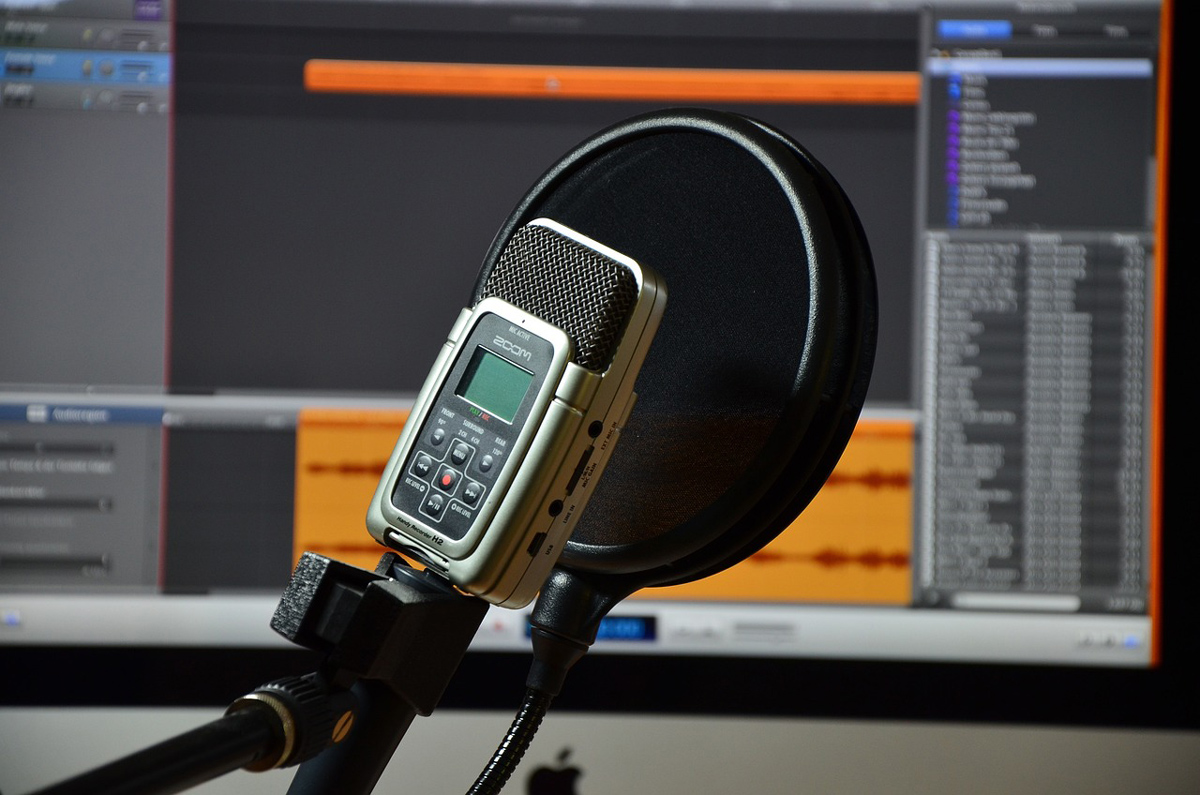
Find Equipment and Software
Now that you know what type of setup you need, it’s time to start shopping! Do your research and find the right microphone and audio interface for your needs. A good rule of thumb is to buy equipment from a reputable company with good customer reviews. If low on budget, you can also find a great USB microphone that will still provide good sound quality.
Once you have your equipment, consider investing in some vocal recording software. There are plenty of options available depending on your budget and needs. You might also need other plugins or accessories, such as compression and reverb, to help polish your recordings. For instance, you’ll need a de-esser plugin to control vocal sibilance and prevent your recordings from sounding too harsh. Research carefully to find the right tools for your home vocal setup.
Confirm the Set Up
Once you have all your equipment and software installed, it’s time to confirm that everything is working correctly. Make sure to test the microphone on the audio interface, as well as the software settings and plugins. You should also check for any feedback or unwanted noise to ensure that your home vocal setup runs smoothly.
Now that you’ve confirmed your setup, it’s time to start recording! Make sure to warm up your voice before starting and take breaks as needed—recording vocals can be demanding on your vocal cords.
Practice Your Vocals
Now that you have the necessary equipment and software, it’s time to practice! Spend some time warming up your voice and familiarizing yourself with the recording process. Listen back to your recordings and make adjustments as needed. You can also use a vocal coach or reference tracks to help refine your technique.
Be sure to research and understand the different vocal techniques that can be used to improve the quality of your recordings. For example, proper breathing exercises, pitch control, phrasing, diction, and vibrato are all important aspects of recording vocals at home.
Even if you’re an experienced singer, recording vocals takes practice—it’s not just about sounding good in the studio. You need to be aware of how different vocal techniques can affect your recordings and practice often to ensure you get the best possible results.
Work With Your Vocalist
You can work with your vocalist to help them get the best possible performance. Encourage them to warm up and keep hydrated so their voice stays in good condition. Ask them to sing a few practices before they start recording and give feedback on how they can improve their performance.
You should also know when to take breaks—vocalists need time to rest their voices and take a break from recording. Try recording several takes in one session, so you can decide which ones sound the best without re-recording the entire track.
Finally, ensure your vocalist is comfortable with their environment so they can give it their all when performing. A relaxed atmosphere where they don’t feel rushed or pressured can help them deliver their best performance.
Record Your Vocals
Now that you have all the gear and accessories in place, it’s time to start recording your vocals! Begin by setting up your equipment according to the manufacturer’s instructions. Make sure everything is connected properly and turned on. Once you’re ready, use headphones to monitor your performance and begin recording.
Keep in mind that it might take some time to get the best results—it may take several attempts before you nail the perfect take. Listen back to each recording and adjust your settings accordingly. As long as you keep practicing, you will soon have professional-sounding recordings from the comfort of your home.
Confirm the Mix

Once you’ve recorded and edited all the tracks, it’s time to mix the music. Make sure your vocal track stands out in the mix without sounding too loud or distorted. Balance out all of the elements so they work together harmoniously.
Finally, it’s time to master your recordings. This is the last step in the process and will give your songs that professional touch. You can either master them yourself or work with a mastering engineer to ensure your tracks sound their best before releasing them into the world!
You can record vocals at home with the right equipment and knowledge. Follow these steps to ensure you get the best possible results from your home vocal setup and enjoy recording professional-sounding vocals in no time.
